To get the most out of your PLASMATIC™, you have to be an expert on your machine. That’s why we’ve designed PLASMATIC™ to be user-friendly and we’ve created a repository of online resources to guide you through the ins and outs of your machine. Use our interactive syllabus to gain access to training materials, including video tutorials, how-to guides, and detailed instructions and specifications that tell you everything you need to know about your machine.
Basic Maintenance
Changing Consumables
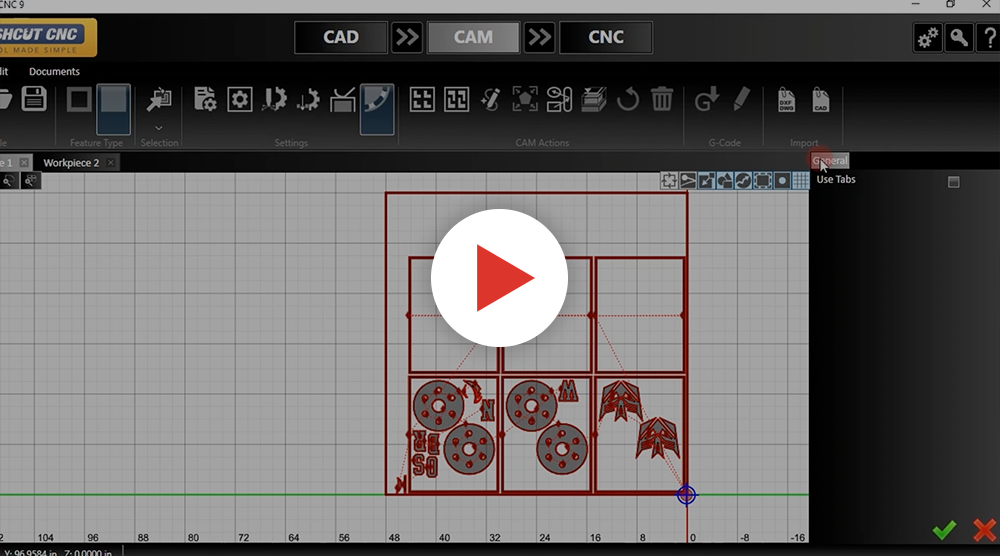
How to Add Tabs to Your Part
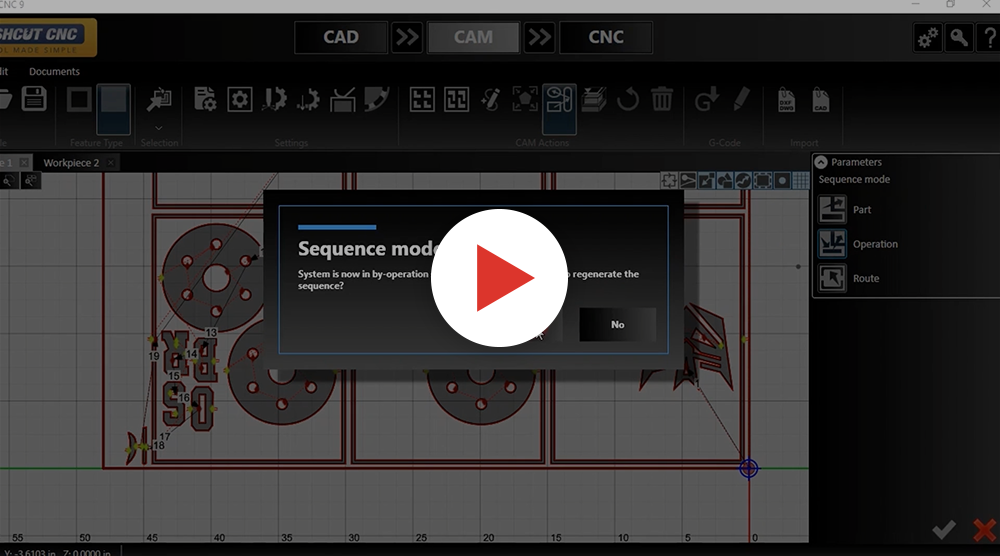
How to Change Cut Sequence
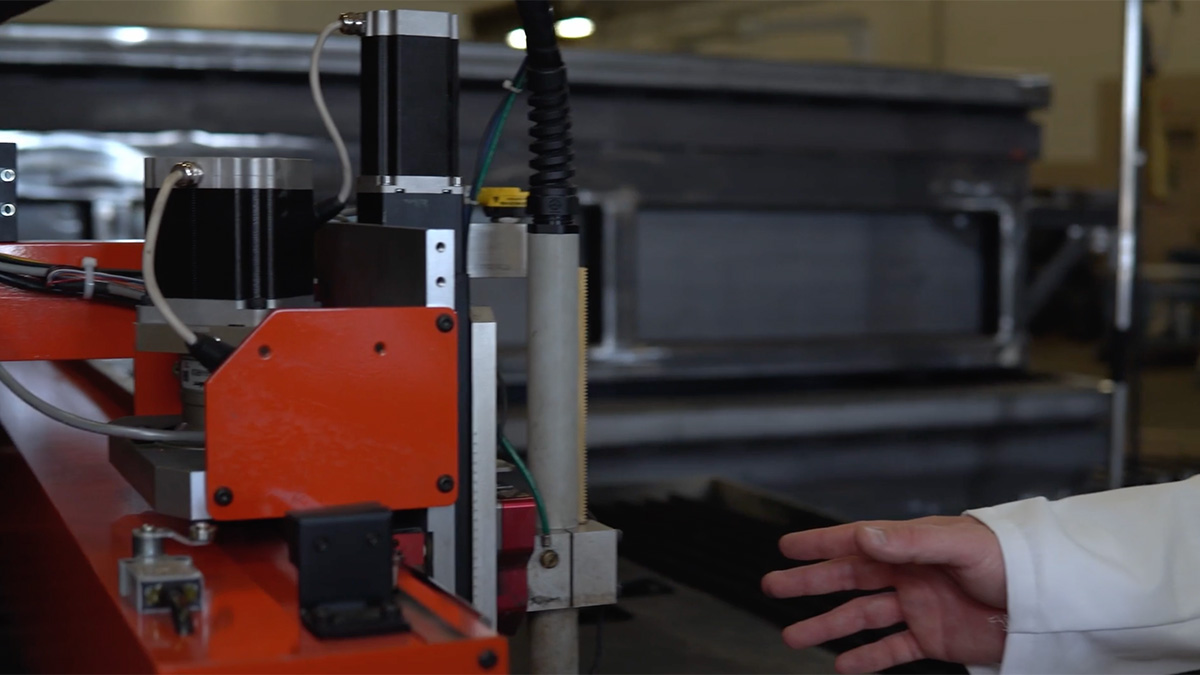
How to Change Out Consumables
How to Export DXF Files
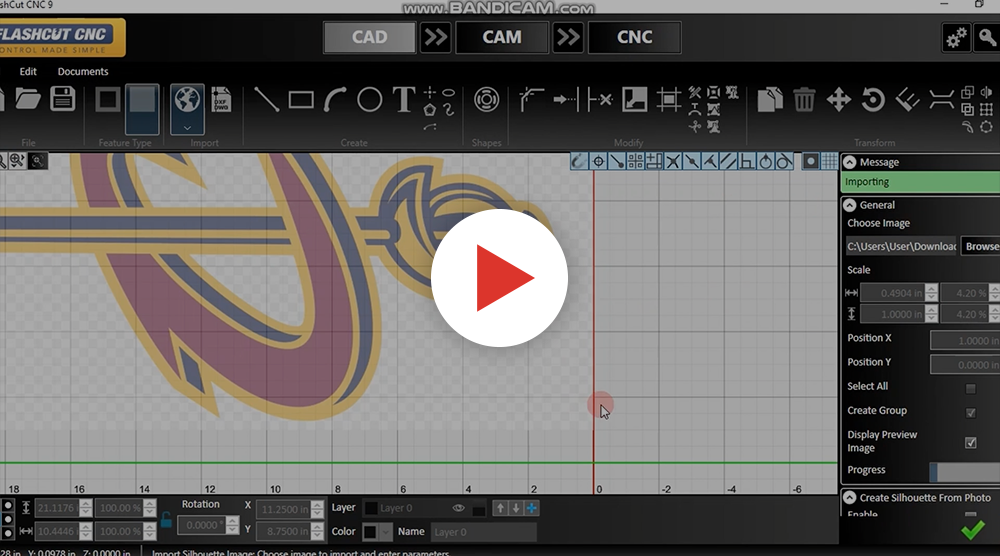
How to Import Images and Adjusting Trace Parameters
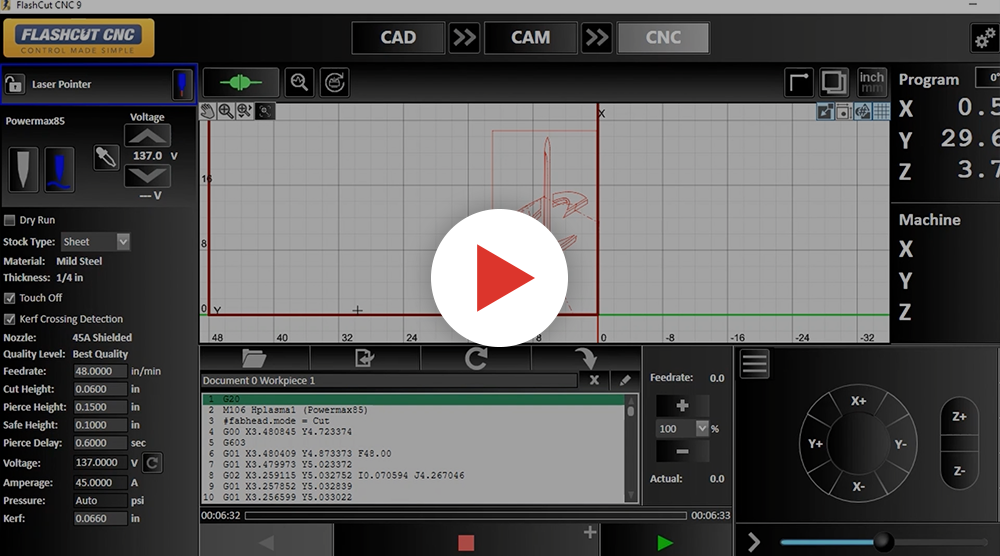
How to Line Up Start Corner of Material for Cutting
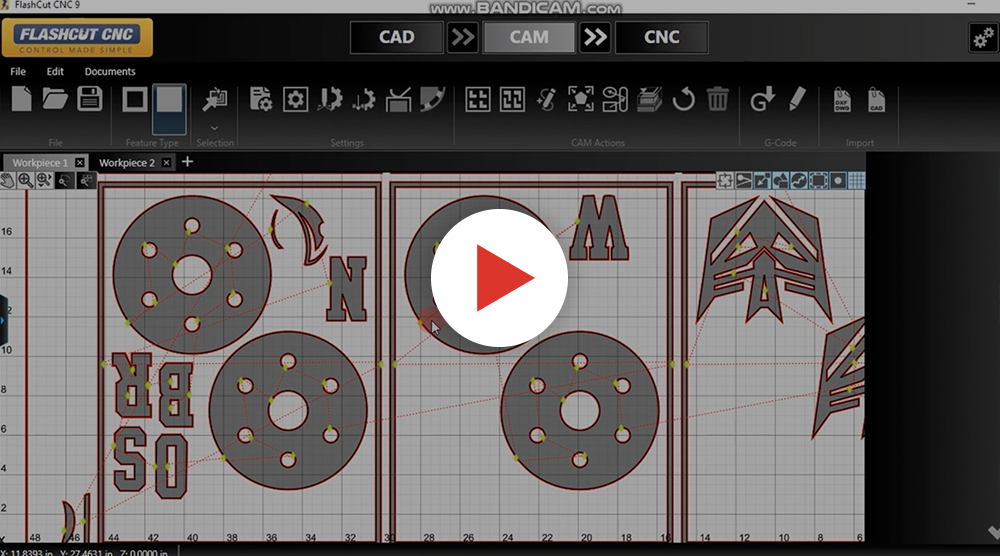
How to Modify Lead in Lead Out’s (Size, Locations, Type and Overburn)
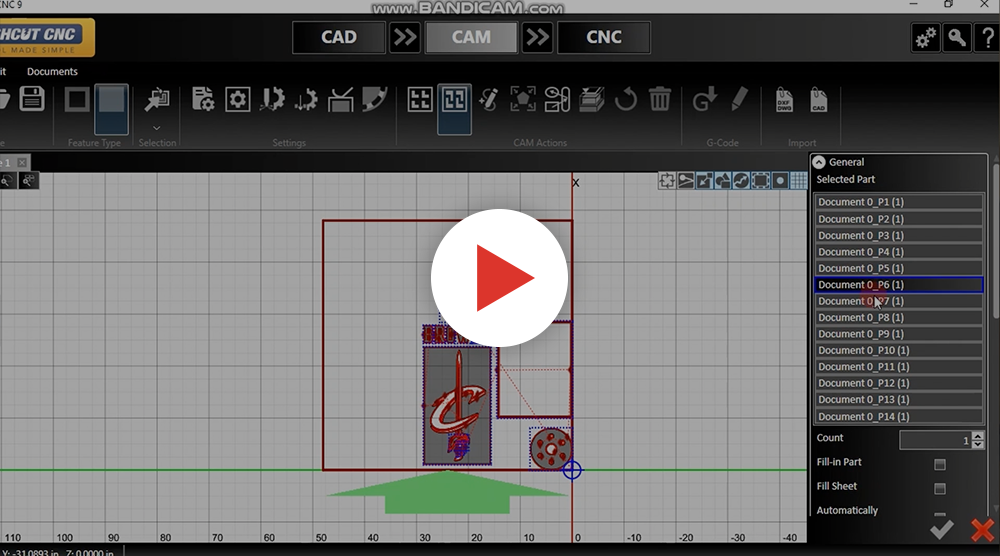
How to Nest Parts – Auto/Manual
How to Program a Dry Run
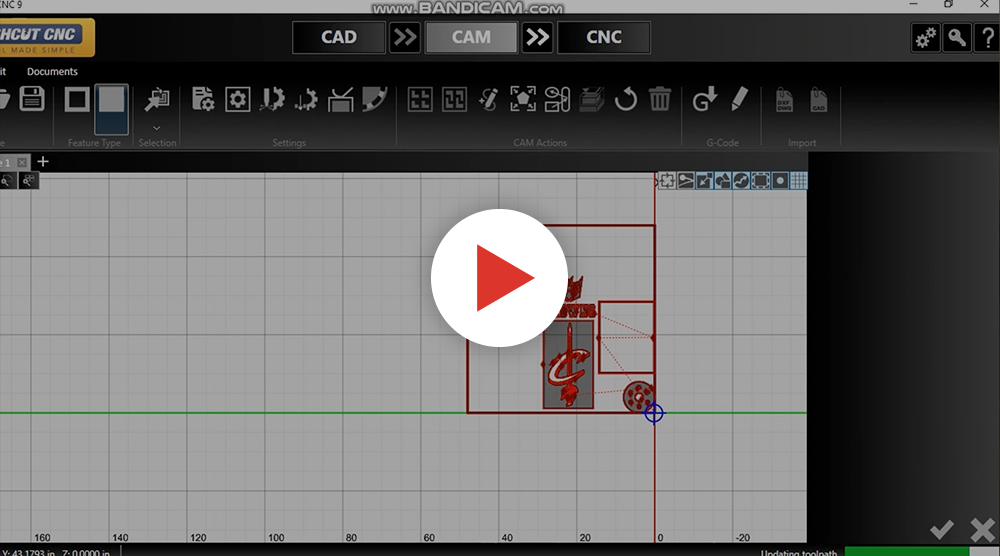
How to Send Material Parameters
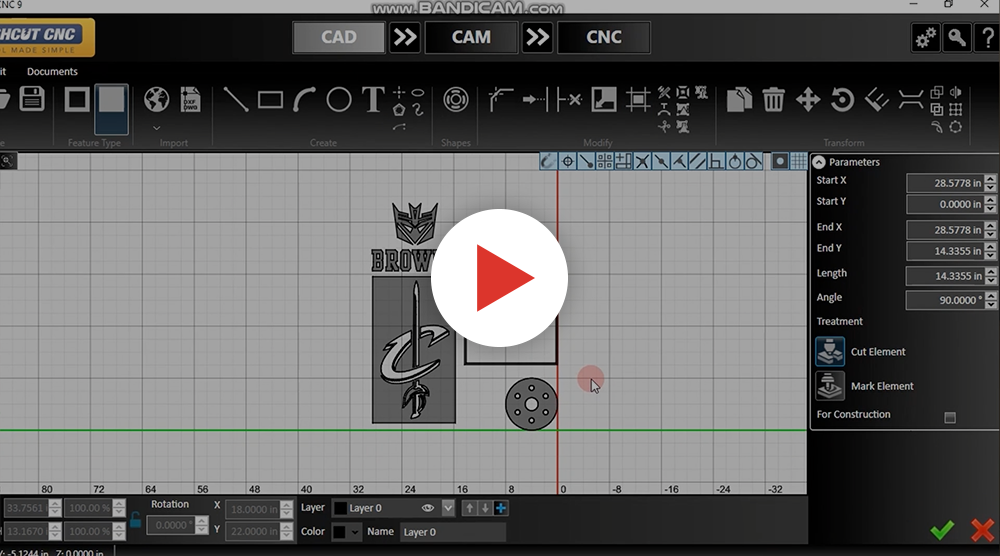
How to Send Part to Cam
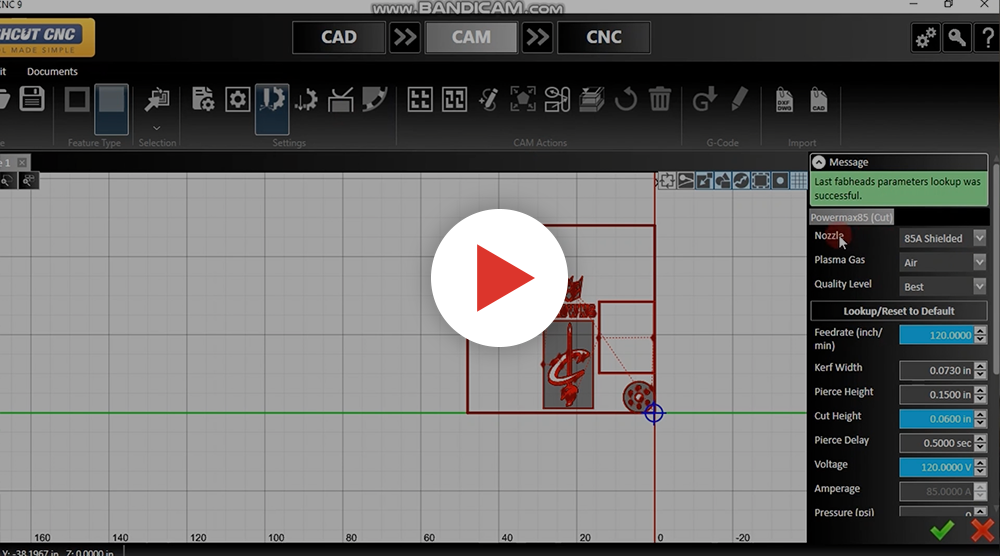
How to Set Plasma Settings
How to Square-Up the Bridge
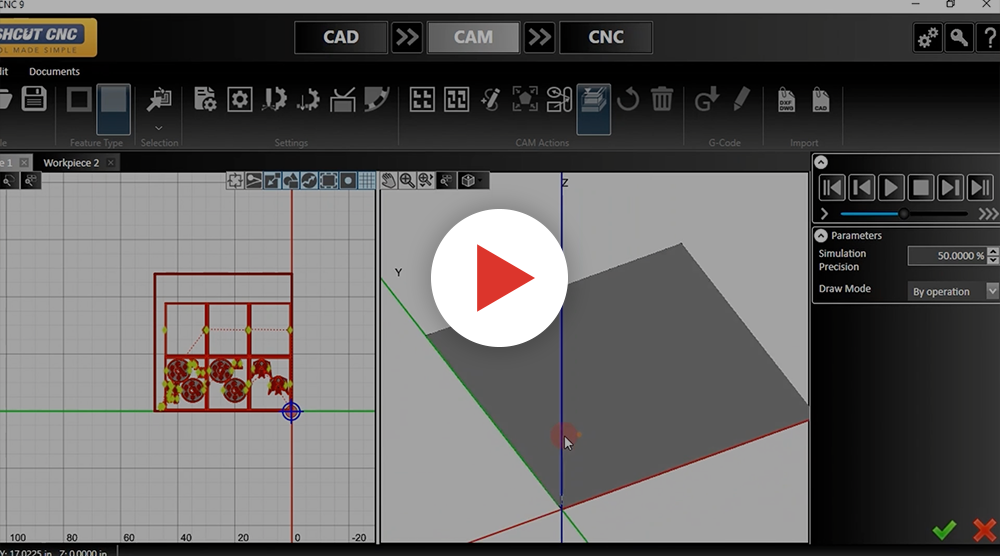
How to Use the Simulation Tool
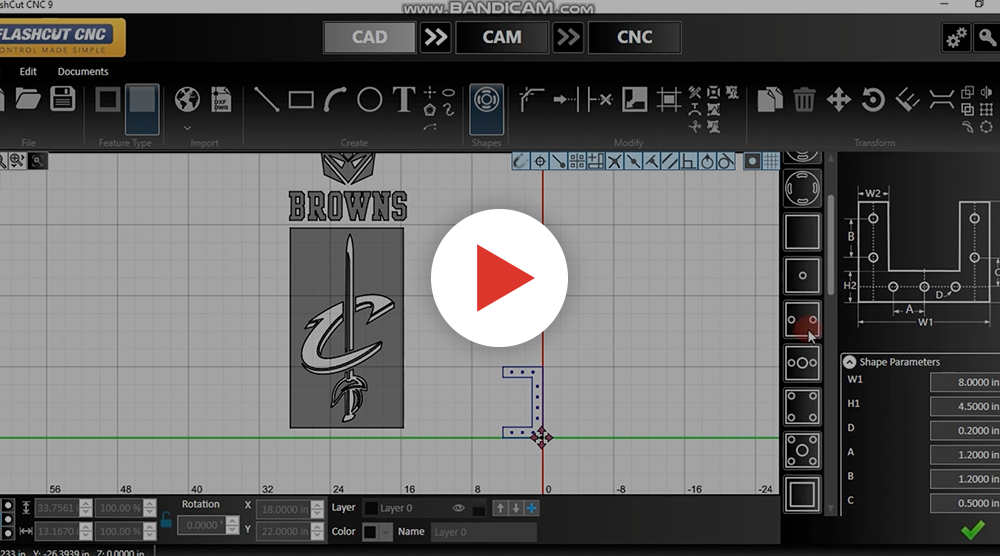
How to Use/Modify the Given Shapes Parts Library
How to Verify Material Straightness Using the Laser Pointer
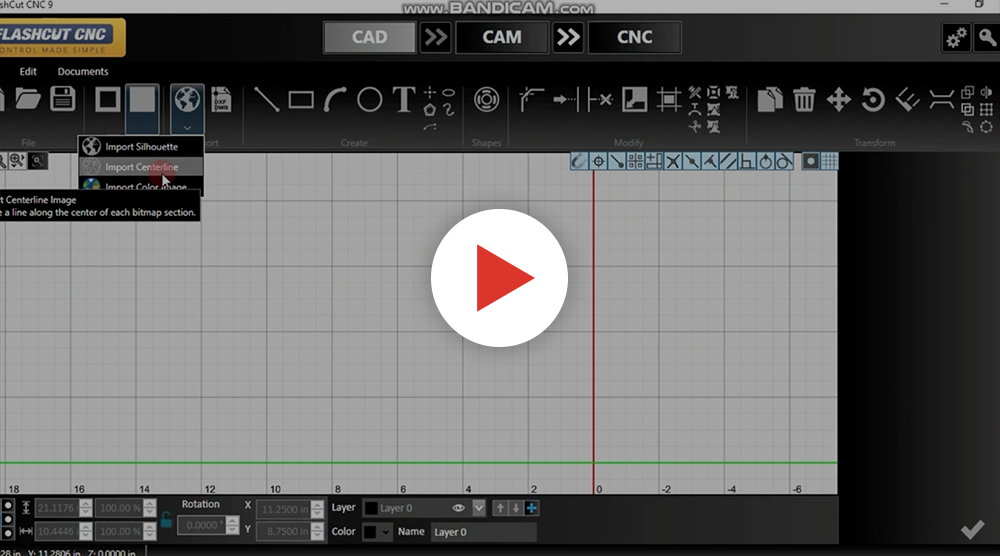
Importing Image & DXF Files
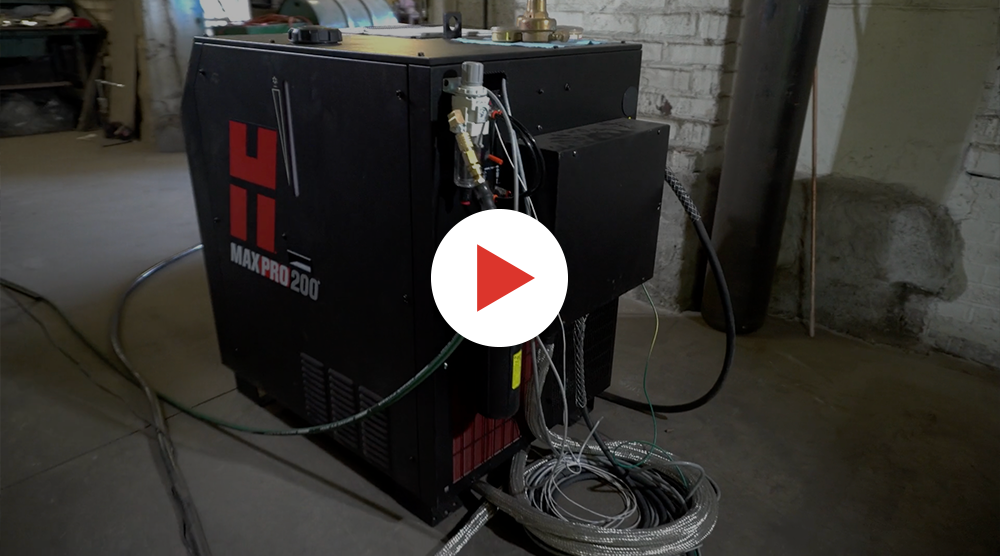
Install Prep for MAXPRO200
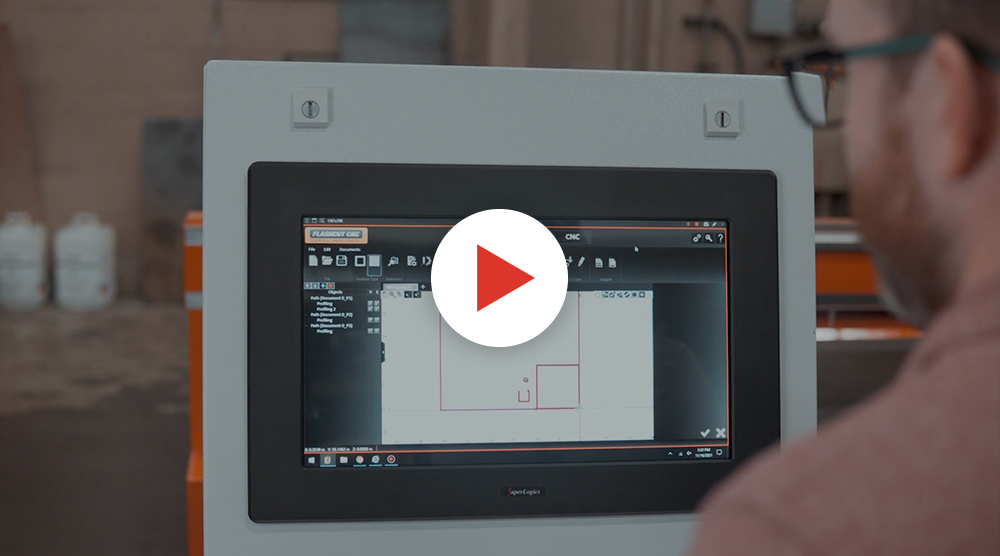
Introduction to PLASMATIC and Basic Operations Overview
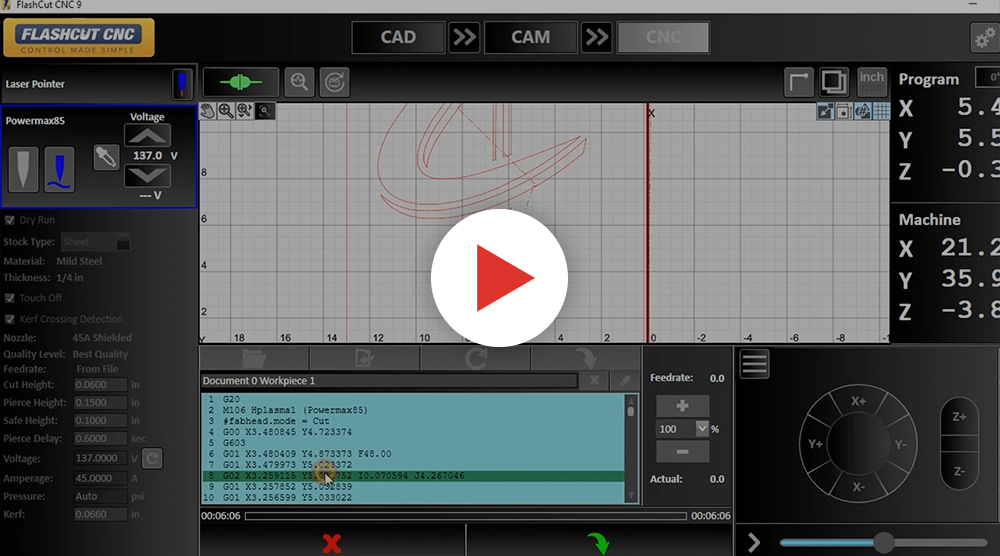
Jump to Specific Points in the Program
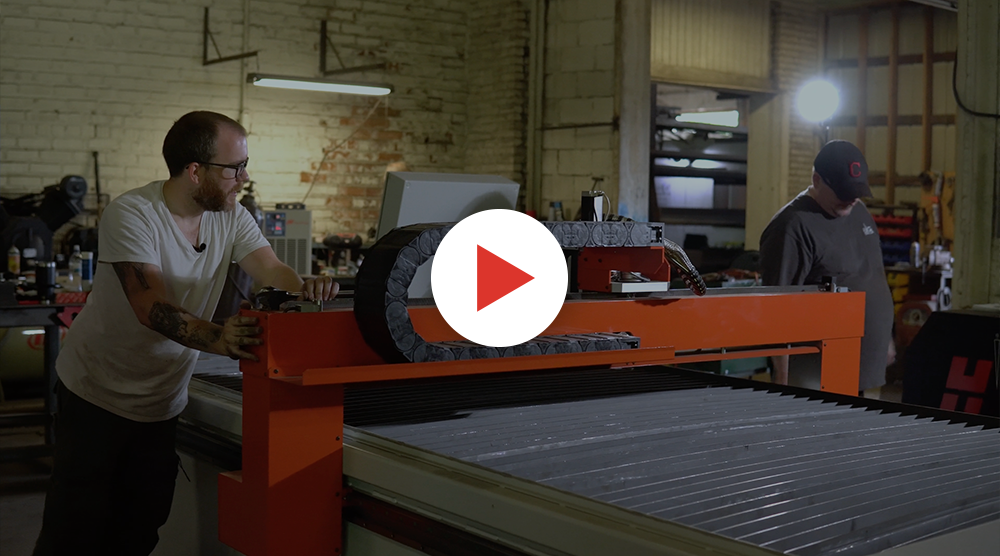
Leveling the PLASMATIC Table
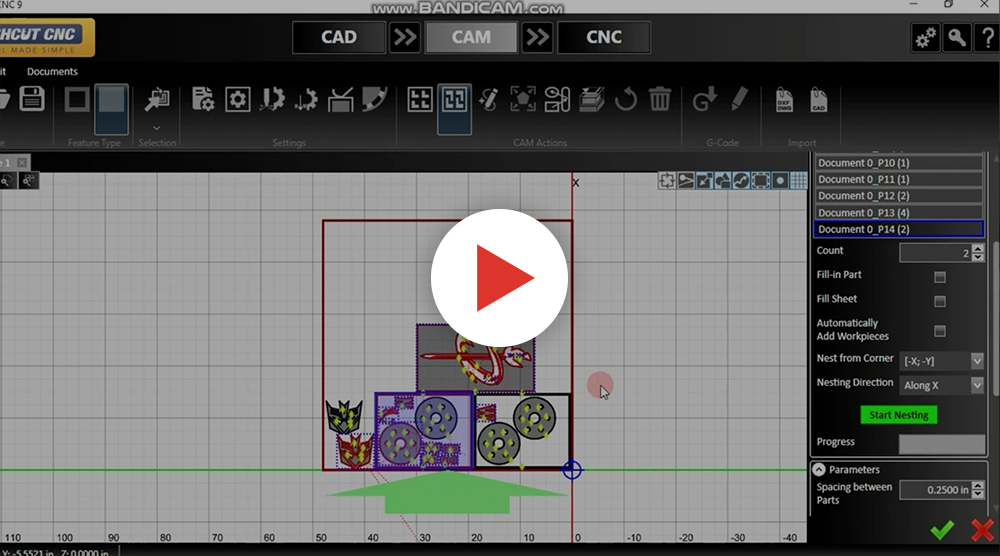
Shape Library Nesting Leads
Square-Up the Bridge
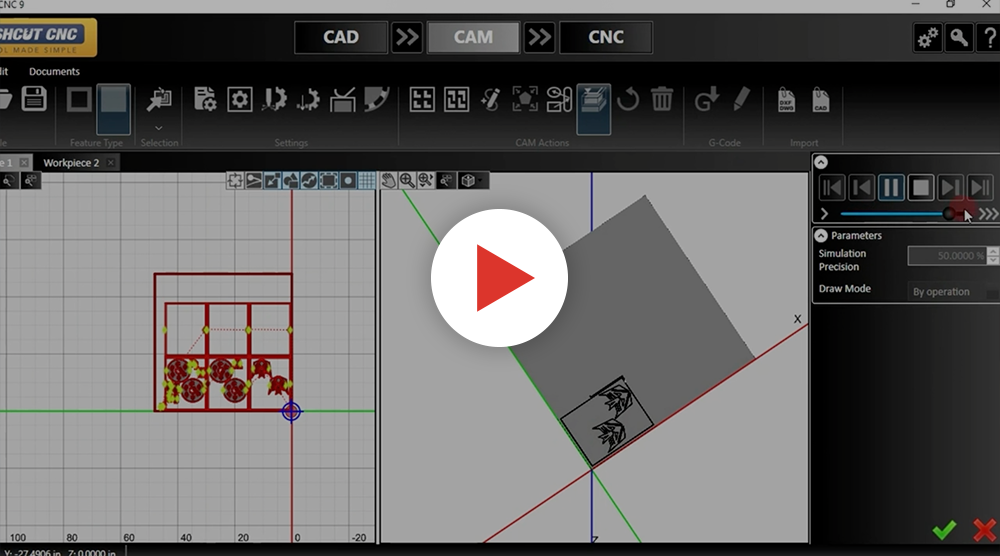
Tab Sequencing Simulation
Training Montage
Work Piece Alignment and Program Start
Installation
The PLASMATIC™ “air” plasma cutting table is designed to be user-friendly and highly accessible, and that includes the installation. Our plug-and-play installation process ensures you don’t have to wait for a technician to get your machine up and running. With a few simple steps, you can install your machine yourself and start cutting the same day.
Your PLASMATIC™ machine comes off the truck ready to use, but there are a few external considerations for you to keep in mind as you’re getting ready to set up. Be sure to consider the following as you prepare:
- The Hypertherm Power Supply has specific power and gas requirements.
- Consult your Operator Manual to see what you need.
- The compressed air components need a clean, dry, and oil-free environment to function properly and for safety purposes.
- A grounding rod must be installed within 20 ft of the cutting table.
Once you have checked these pre-installation boxes, you’re ready to unload your PLASMATIC™ machine and start cutting.
See our full Installation Manual for comprehensive setup instructions.
Operational Training
Learn how to use your machine step-by-step through interactive video training sessions and detailed PLASMATICTM documentation. Our training documents will guide you through information and frequently asked questions for all common usage scenarios. Each training item provides general best practices for your PLASMATICTM machine that you can apply to your unique context.
- Power Supply
- Cutting Table
- FLASHCUT CNC Controller
Software Training
PLASMATIC™ comes equipped with FlashCut Pro integrated all-in-one CAD/CAM/CNC Software that lets you create and import CAD drawings, design CAM tool paths, utilize CNC cutting parts accurately, and enact True Shape Nesting.
Our training materials guide you through the software to make sure you understand all the available features and can use them appropriately. Our videos cover setup, best practices and proper operation to design and program your cut in a way that’s simple and accessible.
- Flashcut Software Introduction
- Flashcut “How To”
- CAD Toolbar Introduction
- CAM Toolbar Introduction
- CNC Controls
Maintenance Training
All machines need routine maintenance to keep up optimal performance. Our maintenance guides demonstrate the process of setting maintenance schedules and other necessities to take care of your PLASMATIC™ machine. Explore our maintenance training videos and written guides to become your own service expert.
Sign up for virtual or in-person training

